
Your Cart is Empty
No need to buy OEM and pay 2x the price.
Nilfisk Advance VA75006, Pick-up tool mounting plate
FactoryCat/Tomcat 290-234A, Spare Key Set of 2 Keys
Glad I was able to purchase this item.
Free Shipping on Parts Orders Over $99
Free Shipping on Parts Orders Over $99
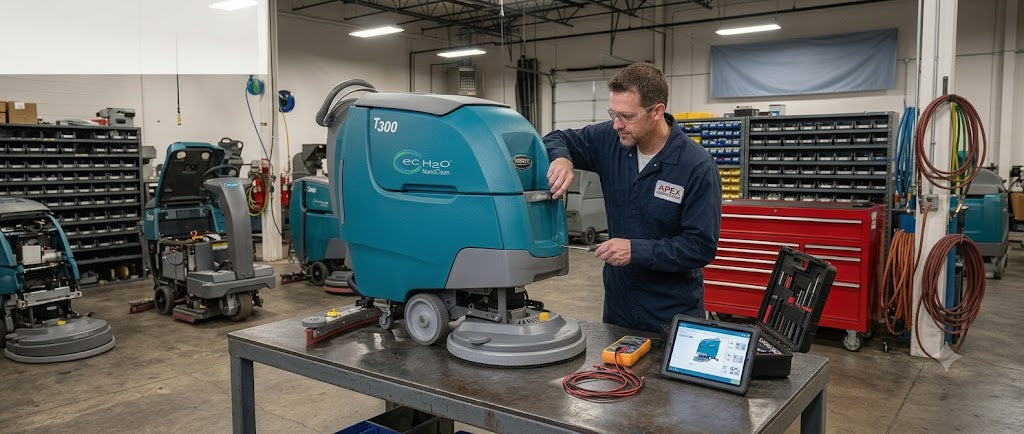

July 20, 2026 3 min read
Few things are more frustrating (or expensive) for a equipment service team than swapping out a $400 scrub motor or main control module, only to turn the key and find the exact same fault still exists.
In commercial floor care equipment like the Tennant T300 / T300e, roughly 80% of reported "component failures" are caused by hidden circuit resistance—corroded harness pins, pitted relay contacts, or loose crimps.
This blog will cover the foundational skill that separates true diagnostic technicians from parts-changers: Voltage Drop Testing under dynamic load.
Before probing any harness on a walk-behind scrubber, make sure your Digital Multimeter (DMM) is set up correctly. For 24V DC battery platforms, you only need three core modes:
+---------------------------------------------------------------------------------+
| METER DIAL SETTING | CIRCUIT STATUS | WHAT IT MEASURES |
+---------------------------------------------------------------------------------+
| DC Volts (V=) | POWER ON | System voltage & loaded voltage drop |
| Ohms (Ω) | POWER OFF | Component coil & switch resistance |
| Continuity (···) | POWER OFF | Wire integrity & blown fuse checks |
+---------------------------------------------------------------------------------+
SAFETY WARNING: Never measure Resistance Ohms or Continuity on an energized circuit. Disconnect the main battery pack before taking static resistance readings to avoid destroying your multimeter fuse or internal circuitry.
Commercial floor scrubbers demand high current (Amps) to perform work. On a typical 24V DC machine:
Scrub Brush Motors: Draw 35A to 40A under heavy downward pressure.
Vacuum Fan Motors: Draw 18A to 20A continuously.
Propel Transaxles: Draw 10A to 15A under drive load.
According to Ohm’s Law (Voltage = Current X Resistance), voltage drop across a circuit increases as current rises. If a corroded connector pin or pitted relay adds just 0.20 Ohms of unwanted resistance into a 40A scrub brush circuit:
Voltage drop = 40 AMPs X .20 Ohms = 8 V drop
Instead of receiving 24V, your brush motor only gets 16V. The motor stalls under light brush pressure, thermal breakers trip, and the control board may throw an over-current fault code—all because of a $2 wire connection.
A common trap in equipment maintenance is probing a motor plug while the machine is at rest.
Because a digital multimeter draws almost zero current during a basic voltage test, a circuit with 99% of its wire strands severed will still display 24 Volts at rest.
Follow this field procedure to verify whether an inoperative or weak scrub deck on a Tennant T300 or T300e is caused by a bad motor or a supply harness fault.
Required Equipment:
Test Procedure:
Attach your meter’s BLACK probe directly to the main Battery Negative (B-) terminal or main ground block.
Insert your meter’s RED probe into the back of the motor harness connector at Wire 24 (YEL) (positive supply to the scrub motor).
Turn the key ON, lower the scrub deck to close position switch SW4, and pull the handle bail switch to trigger motor operation.
[Measure Voltage at Motor Under Load]
│
┌──────────────────────┴──────────────────────┐
Reads ≥ 22.0V DC Reads < 19.0V DC
│ │
Power supply is healthy! Severe Voltage Drop!
Issue is a failed motor winding High resistance upstream
or mechanical binding. (fuses, relays, or harness).
If your motor test revealed a drop below 19V DC under load, keep the circuit active and use point-to-point voltage drop testing along the positive side of the harness:
Technical Summary Checklist
Need OEM Tennant T300 Replacement Parts? Keep your equipment running at peak performance with factory-certified replacement components: Shop T300/T300e Parts
Sign up to get the latest on sales, new releases and more …
No need to buy OEM and pay 2x the price.
Nilfisk Advance VA75006, Pick-up tool mounting plate
FactoryCat/Tomcat 290-234A, Spare Key Set of 2 Keys
Glad I was able to purchase this item.
Fit perfectly and works just like OEM. Very pleased !