Free Shipping on Parts Orders Over $99

0

Your Cart is Empty

July 19, 2026 6 min read

When a commercial floor scrubber goes down, productivity grinds to a halt, floor safety drops, and maintenance costs start climbing. Whether you’re managing a fleet of walk-behind scrubbers in a distribution center or maintaining equipment across a healthcare campus, having a straightforward troubleshooting protocol saves hours of unnecessary shop visits.

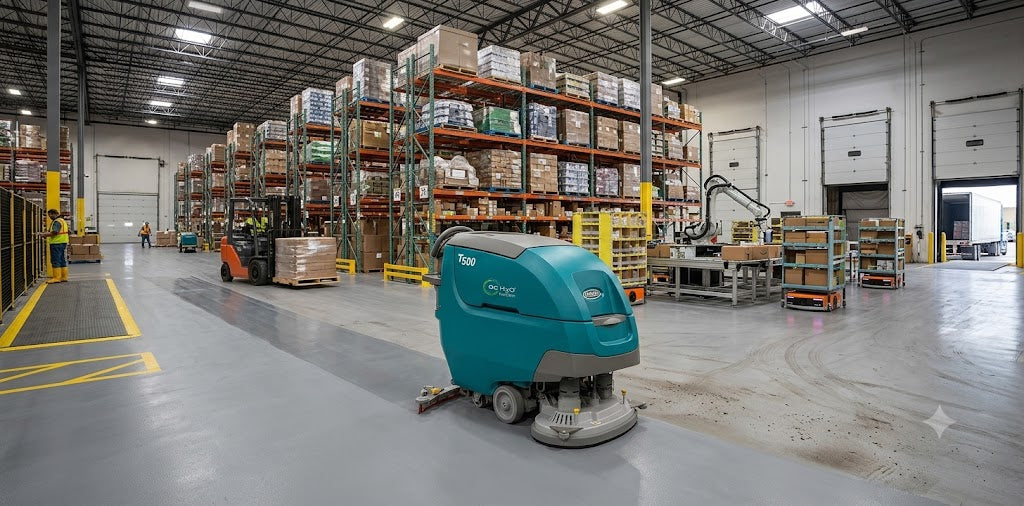
Below is an easy-to-use troubleshooting guide covering the most common floor scrubber service requests—specifically referencing battery-powered walk-behind models like the Tennant T500 and Tennant T500e.

1. Battery & Charger Issues

Battery and power faults account for nearly half of all service calls. When a scrubber refuses to turn on or dies quickly, check these areas first.

Key Symptoms

  • Machine will not power up or turn on
  • Rapid battery discharge / short run-times
  • Onboard charger fault codes (E-0-0-1, E-0-0-2, E-0-0-3)
  • Battery Discharge Indicator (BDI) flashing

Step-by-Step Diagnostics

  1. Verify the Emergency Stop & Key Switch: Ensure the red Emergency Shut-Off button isn't latched down. Twist and pull to reset.
  2. Check for Charger Interlock: Built-in charger interlocks prevent the machine from driving while plugged into an AC outlet. Disconnect the wall cord completely before powering on.
  3. Inspect Main Circuit Breakers: Locate the circuit breaker panel (behind or below the control console). Firmly press any popped breakers to reset them.
  4. Test Battery Pack Voltage: Using a multimeter, test total pack voltage. If a 24V system drops below ~20V DC, the main controller will lock out operation to protect the battery cells.
  5. Clean Terminals & Inspect Fluid (Flooded Lead-Acid): Corrosion at the terminals causes resistance and charging errors. Clean terminals using a warm baking soda solution. Always check electrolyte levels after charging and top off with distilled water as needed.

Common Onboard Charger Error Codes

  • E-0-0-1 / E-0-2-1 — High Battery Voltage
    • Cause: Incorrect battery profile selected or wrong charger unit.
    • Fix: Verify the charger algorithm matches your battery chemistry (Wet/Flooded vs. AGM/Gel).
  • E-0-0-2 / E-0-2-2 — Low Battery Voltage
    • Cause: Severely over-discharged battery pack or open cell.
    • Fix: Test individual 6V/12V batteries with a multimeter; recharge or replace defective cells.
  • E-0-0-3 / E-0-0-4 — Charge Timeout / Over-Temperature
    • Cause: Damaged cells or ambient charging temperature exceeding 80°F (27°C).
    • Fix: Move machine to a cool, well-ventilated area before charging. Conduct a hydrometer test on flooded cells.
  • 0xF102 — Charger Overheat Warning
    • Cause: High ambient temperature or clogged charger cooling vents.
    • Fix: Allow charger to cool completely before retrying.

2. Water Pickup & Streaking Issues

If your floor scrubber is leaving dirty trails, puddle streaks, or failing to vacuum water off the floor, the issue usually sits between the rear squeegee and the vacuum motor intake.

Visual Checklist: Water Recovery Path

  • Step 1: Squeegee Blade Condition
    • Check for nicks, tears, or rounded wiping edges. Standard squeegee blades feature 4 usable edges—flip or rotate the blade before replacing it.
  • Step 2: Drip Trap & Hose Line
    • Inspect the squeegee frame's internal drip trap for string, hair, or debris buildup. Check the suction hose for clogs or physical tears.
  • Step 3: Recovery Tank Lid Seal
    • Inspect the rubber gasket around the recovery tank lid. A loose or damaged lid seal breaks the vacuum seal, leading to poor pickup.
  • Step 4: Float Shut-Off Screen
    • Clean the internal float shut-off screen inside the recovery tank. If foam or sludge covers the screen, the float ball will prematurely block vacuum suction.

3. Solution Flow Issues (Water Output & Leaks)

Whether the machine isn't putting down water or is leaking solution onto the floor while parked, solution system faults are easy to pinpoint.

Dry Scrubbing (No Water Dispensing)

  • Check Water Control Interlocks: Solution flows only when the key is ON, the scrub deck is lowered, a direction (Forward) is engaged, and the control bail handle is squeezed.
  • Inspect the In-Line Solution Filter: Located underneath the chassis near the rear frame. Unscrew the filter bowl counter-clockwise and flush out trapped sediment from the mesh screen.
  • Check Solenoid Valve Circuit Breaker: If the solenoid valve fails to click open when engaging the bail, check circuit breaker #2 (10A) on the breaker panel.

ec-H2O NanoClean™ Diagnostics (If Equipped)

If your Tennant scrubber uses ec-H2O technology, monitor the indicator lights on the module:

  • Code 0x0707 — Expired Water Conditioning Cartridge: Replace the ec-H2O cartridge and reset the module timer (press and hold the service switch for 10 seconds, then press the solution button).
  • Code 0x0702 — Pressure Switch / Line Blockage: Check for kinked solution lines or clogged fittings between the pump and dispensing bar.

4. Brush Motor & Scrub Head Issues

When brushes won't spin or the scrub deck gets stuck, control systems trigger specific fault codes to protect electrical components from burning out.

Basic Operational Checks

  • Bail Engagement: Scrub motors disable automatically when the operator lets go of the hand levers.
  • Down-Pressure Adjustment: If the brush motor repeatedly trips circuit breakers on high-friction surfaces (e.g., bare concrete or rough tile), decrease the down-pressure setting on the control panel.

Common Scrub System Fault Codes

  • 0x0101 / 0x0111 — Scrub Motor 1 or 2 Circuit Open
    • Cause: Disconnected wire harness, blown inline fuse, or faulty control board connection.
    • Action: Check harness connectors J10 / J3 on the main board. Inspect the main power fuse.
  • 0x0109 / 0x0119 — Scrub Motor Overheat / Overcurrent
    • Cause: Excess down-pressure, heavily worn pads/brushes, or bound orbital head isolators.
    • Action: Reduce down-pressure. Inspect pads for excessive wear; check orbital deck isolators for damage.
  • 0x0201 / 0x0207 — Lift Actuator Open Circuit / FET Fault
    • Cause: Actuator harness disconnected or mechanical debris binding the deck lift arm.
    • Action: Clear physical obstructions around the lift mechanism; test actuator continuity.

5. Abnormal Machine Noise & Vibration

Never ignore unusual squeals or grinding sounds—catching bearing or belt wear early prevents costly motor replacements down the road.

  • High-Pitched Screeching / Vacuum Noise: Indicates foreign debris (screws, rocks) caught in the vacuum fan impeller, or worn vacuum carbon brushes.
    • Maintenance Tip: Replace vacuum motor carbon brushes every 750 operating hours.
  • Grinding Near the Scrub Deck: Points to worn motor gearboxes, bad bearing housings, or deteriorated lower isolators on orbital decks.
    • Maintenance Tip: Inspect and replace brush motor carbon brushes every 1,250 operating hours.
  • Squeal During Startup: Common on cylindrical deck scrubbers when drive belts slip or stretch. Replace cylindrical brush belts every 1,250 hours.

6. Impact Damage & Structural Check

Walk-behind scrubbers often take hits from warehouse racking, door frames, or curb edges. After an impact, inspect these key areas:

  1. Breakaway Squeegee Frame: Modern scrubbers use a breakaway latch mechanism to prevent frame damage. If struck, re-seat the squeegee assembly onto the pivot bracket alignment knobs.
  2. Side Skirts: Inspect side rubber skirts around the scrub deck. Torn skirts allow water to sling out to the sides during turns rather than channeling back to the squeegee.
  3. Drive Axle & Mounts: Check transaxle mounting brackets for cracks or bent keyways if the machine pulls heavily to one side during transport.

7. Quick Preventative Maintenance Schedule

Keeping up with routine maintenance dramatically reduces emergency downtime and extends overall equipment lifespan.

Daily (After Every Shift)

  • Drain and thoroughly rinse both the solution and recovery tanks.
  • Clean the recovery tank float screen and mesh debris tray.
  • Wipe down squeegee blades with a damp cloth; check wiping edges for wear.
  • Plug machine in for a full recharge cycle.

Weekly

  • Check electrolyte levels in flooded lead-acid battery cells (add distilled water after charging).
  • Clean the rear squeegee drip trap.
  • Rotate cylindrical brushes end-for-end to ensure even wear.

Every 50 Operating Hours

  • Remove, clean, and re-install the in-line solution filter bowl screen.

Every 200 Operating Hours

  • Clean battery terminals and cable clamps using a wire brush and neutralizing solution.

Every 750 – 1,250 Operating Hours

  • 750 Hours: Replace vacuum motor carbon brushes.
  • 1,250 Hours: Replace drive propel motor and brush motor carbon brushes; replace cylindrical drive belts.

Looking for Replacement Parts or Technical Support?

Whether you need replacement squeegee blades, brush motors, filters, or battery care supplies, keeping OEM-spec parts on hand ensures minimal downtime. Contact our service team or explore our catalog for exact-fit replacement parts for Tennant, Nobles, and other leading floor scrubber brands.

Explore our full inventory of Tennant T500e/T500 replacement parts and accessories here- Tennant T500e/T500 Parts