
Your Cart is Empty
No need to buy OEM and pay 2x the price.
Nilfisk Advance VA75006, Pick-up tool mounting plate
FactoryCat/Tomcat 290-234A, Spare Key Set of 2 Keys
Glad I was able to purchase this item.
Free Shipping on Parts Orders Over $99
Free Shipping on Parts Orders Over $99

July 20, 2026 4 min read
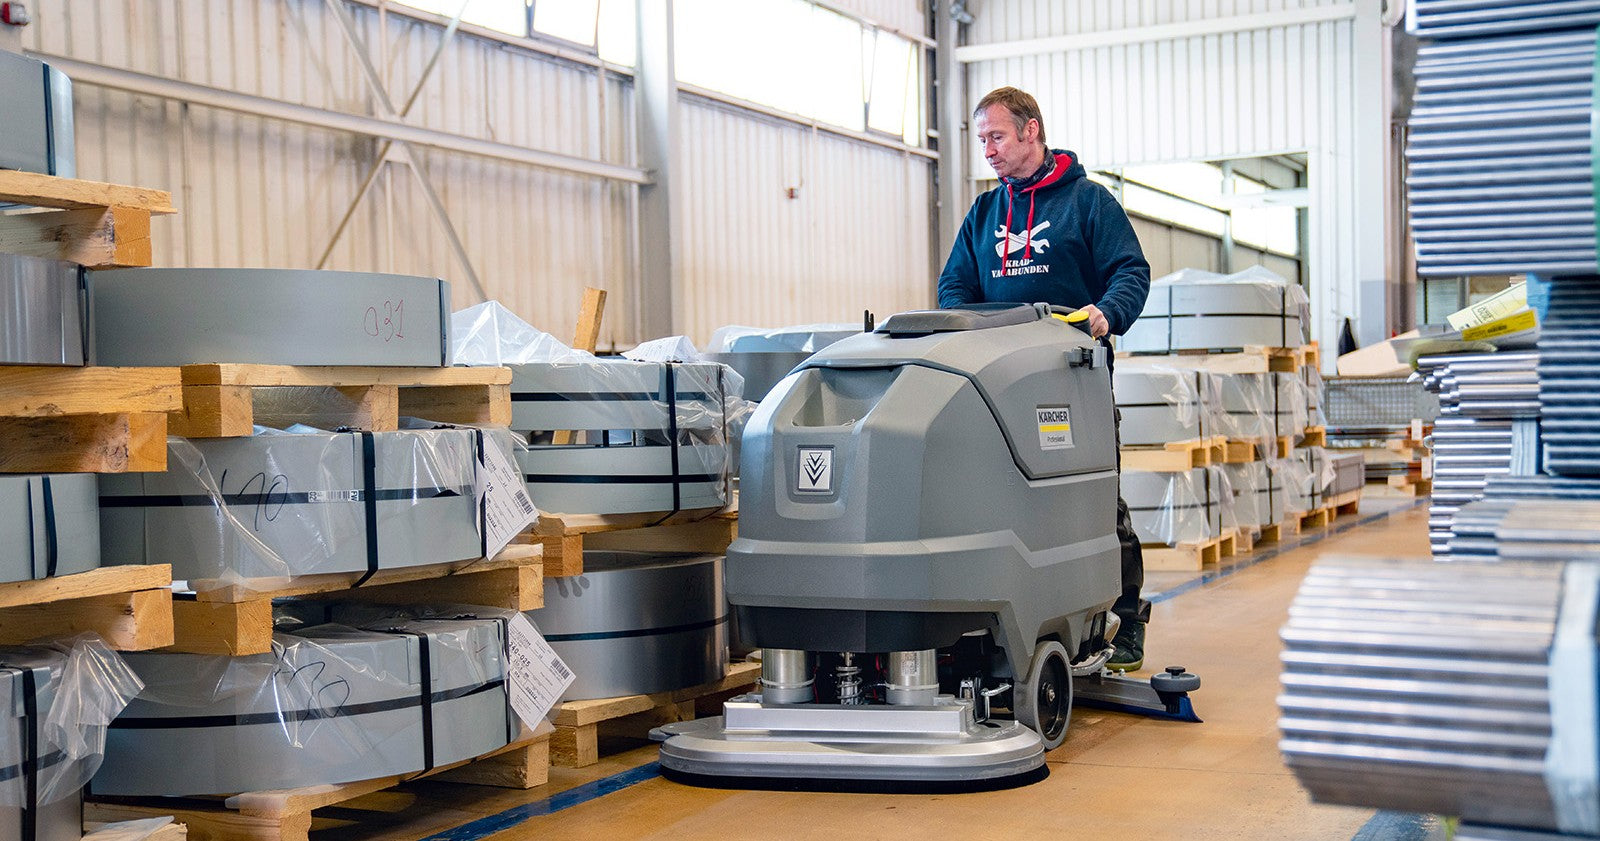
Field Tech Guide: Rapid Troubleshooting & Part Reference for Karcher BD 70/75 & BD 80/100 Floor Scrubbers
When a commercial floor scrubber rolls into your shop or service bay, stopping to dig through a 50+ page service manual for a Karcher BD 80/100 or Karcher BD 70/75 or cross-referencing the BD 80/100 Parts Manual or BD 70/75 Parts Manual whichwastes valuable billable time.
This guide consolidates immediate electrical triage, wear-item inspection points, factory torque specifications, and exact replacement part numbers for the Karcher BD 70/75 W Classic Bp and BD 80/100 W Classic Bp walk-behind scrubbers into one quick-reference article.
1. Safety & Pre-Service Baseline
Before pulling panels or connecting diagnostic tools, establish a safe working baseline to protect yourself and the onboard electronics:
2. Fast Fault Triage & Common Electrical Parts
When an error code flashes on the control panel display, use this matrix to perform immediate point-to-point checks and pull the corresponding replacement part numbers.
|
Error Code / Fault |
Probable Cause |
Immediate Tech Action |
Part Description & OEM Part Number |
|
ERR_U_BATT_001 |
Starting voltage < 18V at boot |
Test battery pack output (>22V target). Check main 100A fuse. |
Fuse Replacement (100A): 6.644-363.0 |
|
Main Relay Fault |
No power to high-amp loads |
Check coil activation voltage on the 120A main relay. |
Relay 120A: 6.633-058.3 |
|
Key Switch Failure |
Machine won't energize |
Test contact continuity in key switch ON/OFF positions. |
BD 70/75 Key Switch: 9.753-445.0 BD 80/100 Key Switch: 6.630-106.0 |
|
ERR_ZK_2V_003 |
Power board capacitor charge error (< 2V) |
Hard reset: Unplug battery connector XG1 for 15 seconds. If fault remains, swap power board. |
Power Board Electronics (A1): 4.683-188.0 |
|
ERR_ZK_10V_004 |
Bus voltage drop < 10V due to load short |
Unplug load connectors one-by-one for drive motor (M1), brush motors (M2), and vacuum motor (M3) to pinpoint short circuit. |
Micro Switch (Brush Deck): 9.753-110.0 |
|
ERR_U_H3_008 |
Brush activation circuit shorted |
Check M2 cabling for shorts to batt. Verify inactive voltage between A1 X15 and XGND is < 1V. |
Brush Head DC Motor (500W): 6.763-001.0 |
|
ERR_U_H4_009 |
Vacuum activation fault |
Check M3 vacuum turbine harness for shorts to batt. Verify inactive voltage between A1 X16 and XGND is < 1V. |
Vacuum Motor Replacement Assembly: 4.035-006.0 |
|
ERR_TEMP_045 |
Power unit overtemperature (> 90 degrees Celsius) |
Allow electronics to cool. Inspect drive train and electro-mechanical brake for binding or mechanical drag. |
BD 70/75 Gear/Drive Motor: 9.763-546.0 BD 80/100 300W Drive Motor: 6.763-000.0 |
3. Shop Routine Maintenance & High-Wear Checklist
Complete these visual and physical checks during every shop check-in:
Vacuum & Recovery Water System
Brush Deck & Solution Delivery
4. Reassembly Torque Specs & Shop Consumables
Fastener Torque Chart
Factory Consumables
Wiring Socket Warning: When reconnecting harness plugs on power electronics board A1, plug the blue CAN diagnostic cable strictly into Blue Socket (X8). Plug the grey harness connector strictly into Yellow Socket (X9). Crossing these sockets will damage circuit boards.
5. Squeegee Blade & Floor Tool Matrix
Keep these fast-moving wear item part numbers on hand for quick field turnaround:
Rear Squeegee Suction Bar Assemblies & Blades
BD 70/75 (1030mm / 40" Squeegee Bar Assembly: 4.777-108.0)
Natural Rubber Blade Set: 4.037-144.0
Polyurethane (PU) Blade Set: 4.037-145.0
BD 80/100 (1100mm / 43" Squeegee Bar Assembly: 4.777-102.0)
Linatex / Standard Blade Set: 4.181-006.0
Oil-Resistant Rubber Blade Set: 4.037-140.0
Suction Bar Corner Support Rollers (Both Models): 4.035-317.0
Need Professional Service, Parts, or Advice?
Even with a comprehensive troubleshooting guide, complex electrical issues or major mechanical overhauls require certified technician support. If you need replacement OEM parts, squeegee blades, or on-site service for your floor maintenance equipment, contact our service team today or explore our online parts catalog! Shop Karcher BD 80/100 Parts
Sign up to get the latest on sales, new releases and more …
No need to buy OEM and pay 2x the price.
Nilfisk Advance VA75006, Pick-up tool mounting plate
FactoryCat/Tomcat 290-234A, Spare Key Set of 2 Keys
Glad I was able to purchase this item.
Fit perfectly and works just like OEM. Very pleased !